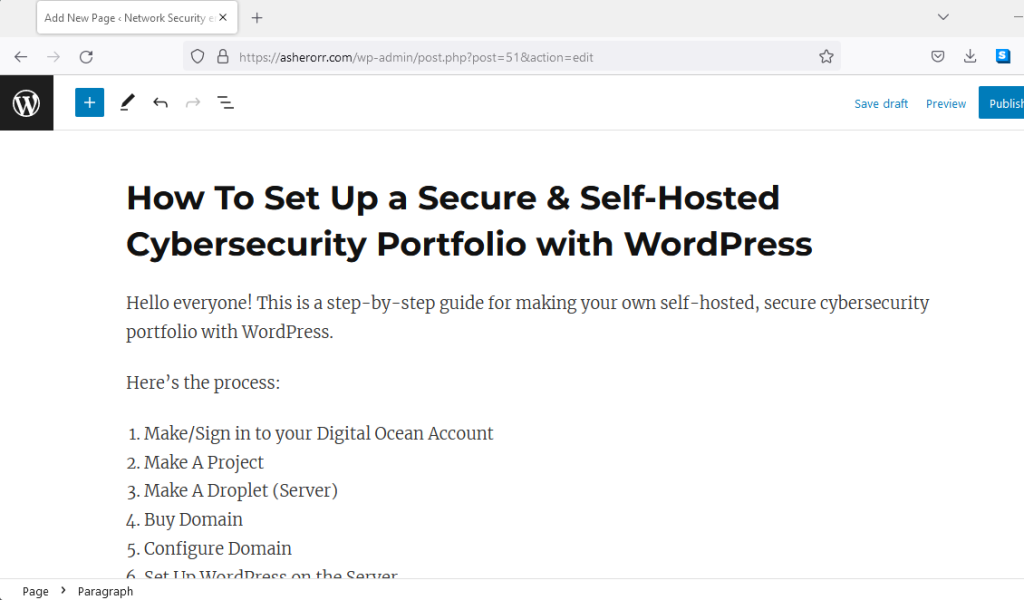
Hello everyone! This is a step-by-step guide for making your own self-hosted, secure cybersecurity portfolio with WordPress.
Here’s the process:
- Make/Sign in to your Digital Ocean Account
- Make A Project
- Make A Droplet (Server)
- Buy Domain
- Configure Domain
- Set Up WordPress on the Server
- Set Up SSL on the Server
- Login to WordPress with SSL
- Make Your Portfolio with the GUI
STEP 1: MAKING DIGITAL OCEAN ACCOUNT.
Go to https://www.digitalocean.com and make an account (or sign in, if you have one.)
STEP 2: MAKE A PROJECT
Click “+ New Project” button on the left hand side.
If you’re asked about moving resources, click “Skip for now.” We’ll make those next.
STEP 3: MAKE A DROPLET (SERVER)
In your project, click “Spin up a Droplet.”
Then pick the region- this is the physical location of your server.
Note: In DigitalOcean, “volume” is a feature that allows users to store data and applications in a single location and scale up or down as needed. Since I don’t expect this server to handle much traffic, it’s OK for this feature to be unavailable at this time.
Then scroll down to “Choose an Image” and go to “Marketplace.” Select the WordPress image.
For hardware, it’s OK to go with the smallest and cheapest option available. Your server will still have plenty of power!
Now you’ll choose the authentication method for logging in. I recommend SSH, because it’s far more secure.
If you choose the password option, though, remember this key best practice: use a long, strong password!
This means 16 characters MINIMUM, and something that’s uncommon- avoid using phrases like “password” or “password123.”
It should also be unrelated to any information that someone could find out about you (address, pet’s name, spouses maiden name, etc.)
Lastly, consider using a mix of uppercase letters, lowercase letters, and symbols. This helps prevent a hacker from using the Brute Force technique to guess your password.
This is a GREAT example of a strong password: 9HH_e419yre$MM~!he7TR
If you choose to authenticate with an SSH Key, Digital Ocean has easy instructions to follow for adding a new SSH key.
Once you’re finished, your screen should change to this:
Now, give it a hostname! Once you’ve done that, you’re ready to create the droplet.
When you click “Create droplet,” your IP address will generate (this may take a few minutes.)
STEP 4: BUY A DOMAIN
Head to namecheap.com and create an account or login
Now click “Domains.” You’ll be taken to a page where you can search for any domain.
Once you’ve found a suitable domain name, checkout. Go back to the Namecheap homepage. Since you’ve made an account and logged in, you’ll see a control panel on the left side of the screen. Click “Domain List.”
STEP 5: CONFIGURE DOMAIN
When you click “Domain List,” you’ll be taken to this page.
On the right side of the page, click the dropdown next to “Verify Contacts.” Then click “Manage.”
Click “Advanced DNS”
This part is simple, but it must be done exactly right.
You need to delete the existing records.
Then create 2 records:
- An A record with a host of “@” (do not include the quotation marks!) and a value of the IP of your droplet. You can see the droplet’s IP on the project overview in Digital Ocean.
- A CNAME record with a host of www and a value of your full domain.
TTL can be automatic for both.
Once you do this, click the green “Save All Changes Button”
Now your DNS is done! Keep in mind that it may take up to 24 hours for your DNS records to populate in the DNS servers across the internet.
STEP 6: SET UP WORDPRESS ON THE SERVER
We’ve made our server, bought our domain, and set it up. Now let’s finish setting up the server.
Digital Ocean makes this process easy! They have a script that runs and does everything for you. All you need to do is enter your info. Let’s get to it!
SSH into your server (ssh root@ip)
Note: If you get this message:
It could be because your public and private keys are not located in the the right directory on your computer. There’s an ssh directory in Linux, and that’s where the keys need to be located.
You can run this command and try to SSH after:
Assuming that you could SSH into the server the first time, enter the domain you just bought.
Then enter your email.
Now enter a username and password for your WordPress server login and a title.
STEP 7: CONFIGURE SSL
This is the next step in the script. DigitalOcean uses a program called Certbot that automatically gives your website a real SSL cert as long as it can verify the domain via your domain records.
Hit y and press enter.
Enter your email:
Enter Y to Agree and register with the ACME server.
Eventually it will ask which domain names you’d like to activate it for.
Because of the way we set up the DNS, just hit enter. It will register for BOTH domains since we set up the CNAME for the www route.
And it’s done!
Try visiting the site in a web browser. You’ll see a fully encrypted site with no cert warnings!
STEP 8: LOGIN TO WORDPRESS
Go to yourdomain.com/wp-admin and you’ll see this page:
Use the WordPress login you made up with the Digital Ocean startup script (the one you executed in the terminal, see step __ if you don’t remember.)
And you’re in!
Step 9: Make a Portfolio with the GUI
First, let’s do some house cleaning!
These are the default plugins.
Delete the first two, and click opt in → setup → activate on the WP fail2ban plugin.
You don’t need to install the blocklist, but you can if you want.
Next we go to Appearance → Themes → Add New
Pick a theme you like (I recommend searching for “Blog”) and hit the blue “Install” box. When it’s finished, hit the “activate” button.
I chose a minimalist portfolio theme. When you go back to your site, you’ll see the theme activated!
The last thing we’ll cover is how to make posts.
Go back to your dashboard → posts → add new
Use code blocks for code and paragraph blocks for paragraphs.
Then save, and you’ll see your post on the main site!